Affiliate Disclosure: This article contains affiliate links. If you purchase through these links, we may earn a commission at no extra cost to you. This helps support our site and allows us to continue creating in-depth gear reviews. Our recommendations are based on independent testing and research.
The best deer hunters don't start hunting on opening day—they start months before, during the off-season, by scouting. Pre-season scouting is the single most impactful thing you can do to increase your odds of harvesting a mature deer. Here's how to scout effectively without pressuring the deer you're trying to hunt.
Why Pre-Season Scouting Matters
A hunter who blindly hangs a stand on opening morning and hopes for the best is gambling. A hunter who has spent the summer studying terrain, running trail cameras, and identifying travel patterns is making an informed decision. Scouting doesn't guarantee success, but it dramatically tilts the odds in your favor.
The goal of pre-season scouting is to answer three fundamental questions:
🎯Want our complete Deer Hunting checklist? Download it free — field-tested and printable.
Download Free Checklist- Where are the deer? (Core areas, travel routes, feeding and bedding zones)
- When are they there? (Time of day, weather patterns, seasonal shifts)
- Which deer are there? (Age class, buck-to-doe ratio, specific target bucks)
Phase 1: E-Scouting (March-May)
E-scouting—digital scouting using maps and satellite imagery—should be your first step. You can learn an enormous amount about a property without ever stepping foot on it.
Tools for E-Scouting
- onX Hunt App: The gold standard for hunting maps. Shows property boundaries, landowner names, public land boundaries, topographic features, and aerial imagery. Worth the $30/year subscription.
- Google Earth: Free satellite imagery with historical views. You can compare summer and winter imagery to identify food sources and browse.
- State DNR Maps: Many state DNR websites provide free maps showing public hunting land, habitat types, and management unit information.
What to Look for on Maps
- Terrain features: Saddles, benches, ridge points, creek confluences, and inside corners of terrain changes. These are natural funnels that concentrate deer movement.
- Transition zones: Where timber meets fields, where hardwoods meet pines, where thick cover meets open terrain. Deer use edge habitat extensively.
- Water sources: Creeks, ponds, seeps, and springs. In dry conditions, water can be a stronger attractant than food.
- Food sources: Agricultural fields (corn, soybeans, alfalfa), oak flats, food plots, and mast-producing timber.
- Bedding areas: Thick, south-facing slopes (warm in winter), dense CRP grass, thick cedar stands, or swampy areas. Deer bed where they feel safe from predators and weather.
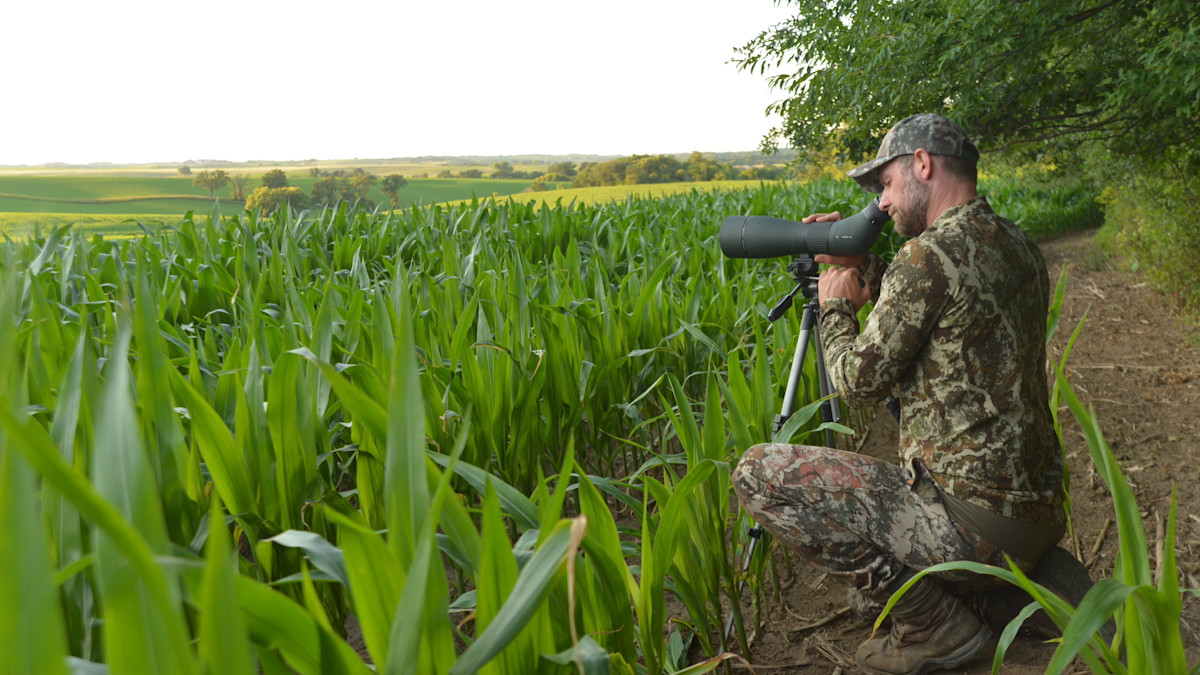
Phase 2: Boots-on-Ground Scouting (May-July)
After e-scouting narrows your focus areas, it's time to walk the ground. Late spring and early summer is the best time for boots-on-ground scouting because deer are in summer patterns and relatively undisturbed. The vegetation is full, so you can assess cover quality, and most hunting pressure is months away.
What to Look for on the Ground
- Deer trails: Well-worn trails indicate consistent use. Multiple trails converging at an intersection or terrain feature are gold. Rate trails by how worn they appear—bare dirt paths through grass indicate heavy use.
- Rubs from last season: Old rubs (healed bark, weathered wood) show where bucks traveled during the rut. Rub lines—a series of rubs along a travel route—reveal a buck's preferred path. Large rubs on thick trees generally indicate mature bucks.
- Old scrapes: Last year's scrapes often reactivate in fall. Look for oval-shaped bare patches under overhanging "licking branches" at head height.
- Beds: Oval depressions in grass or leaves, 3-4 feet long. Multiple beds in one area indicate a bedding zone. Don't linger—note the location and leave.
- Food sources: Identify which oaks are producing acorns (check last fall's crop for baseline), where browse plants are growing, and what agricultural crops border your hunting area.
When scouting bedding areas, DO NOT walk through them. Approach from downwind, confirm the bedding signs from the edge, and leave. Pressuring a bedding area in summer can cause deer to shift their core area by fall, making your scouting counterproductive.
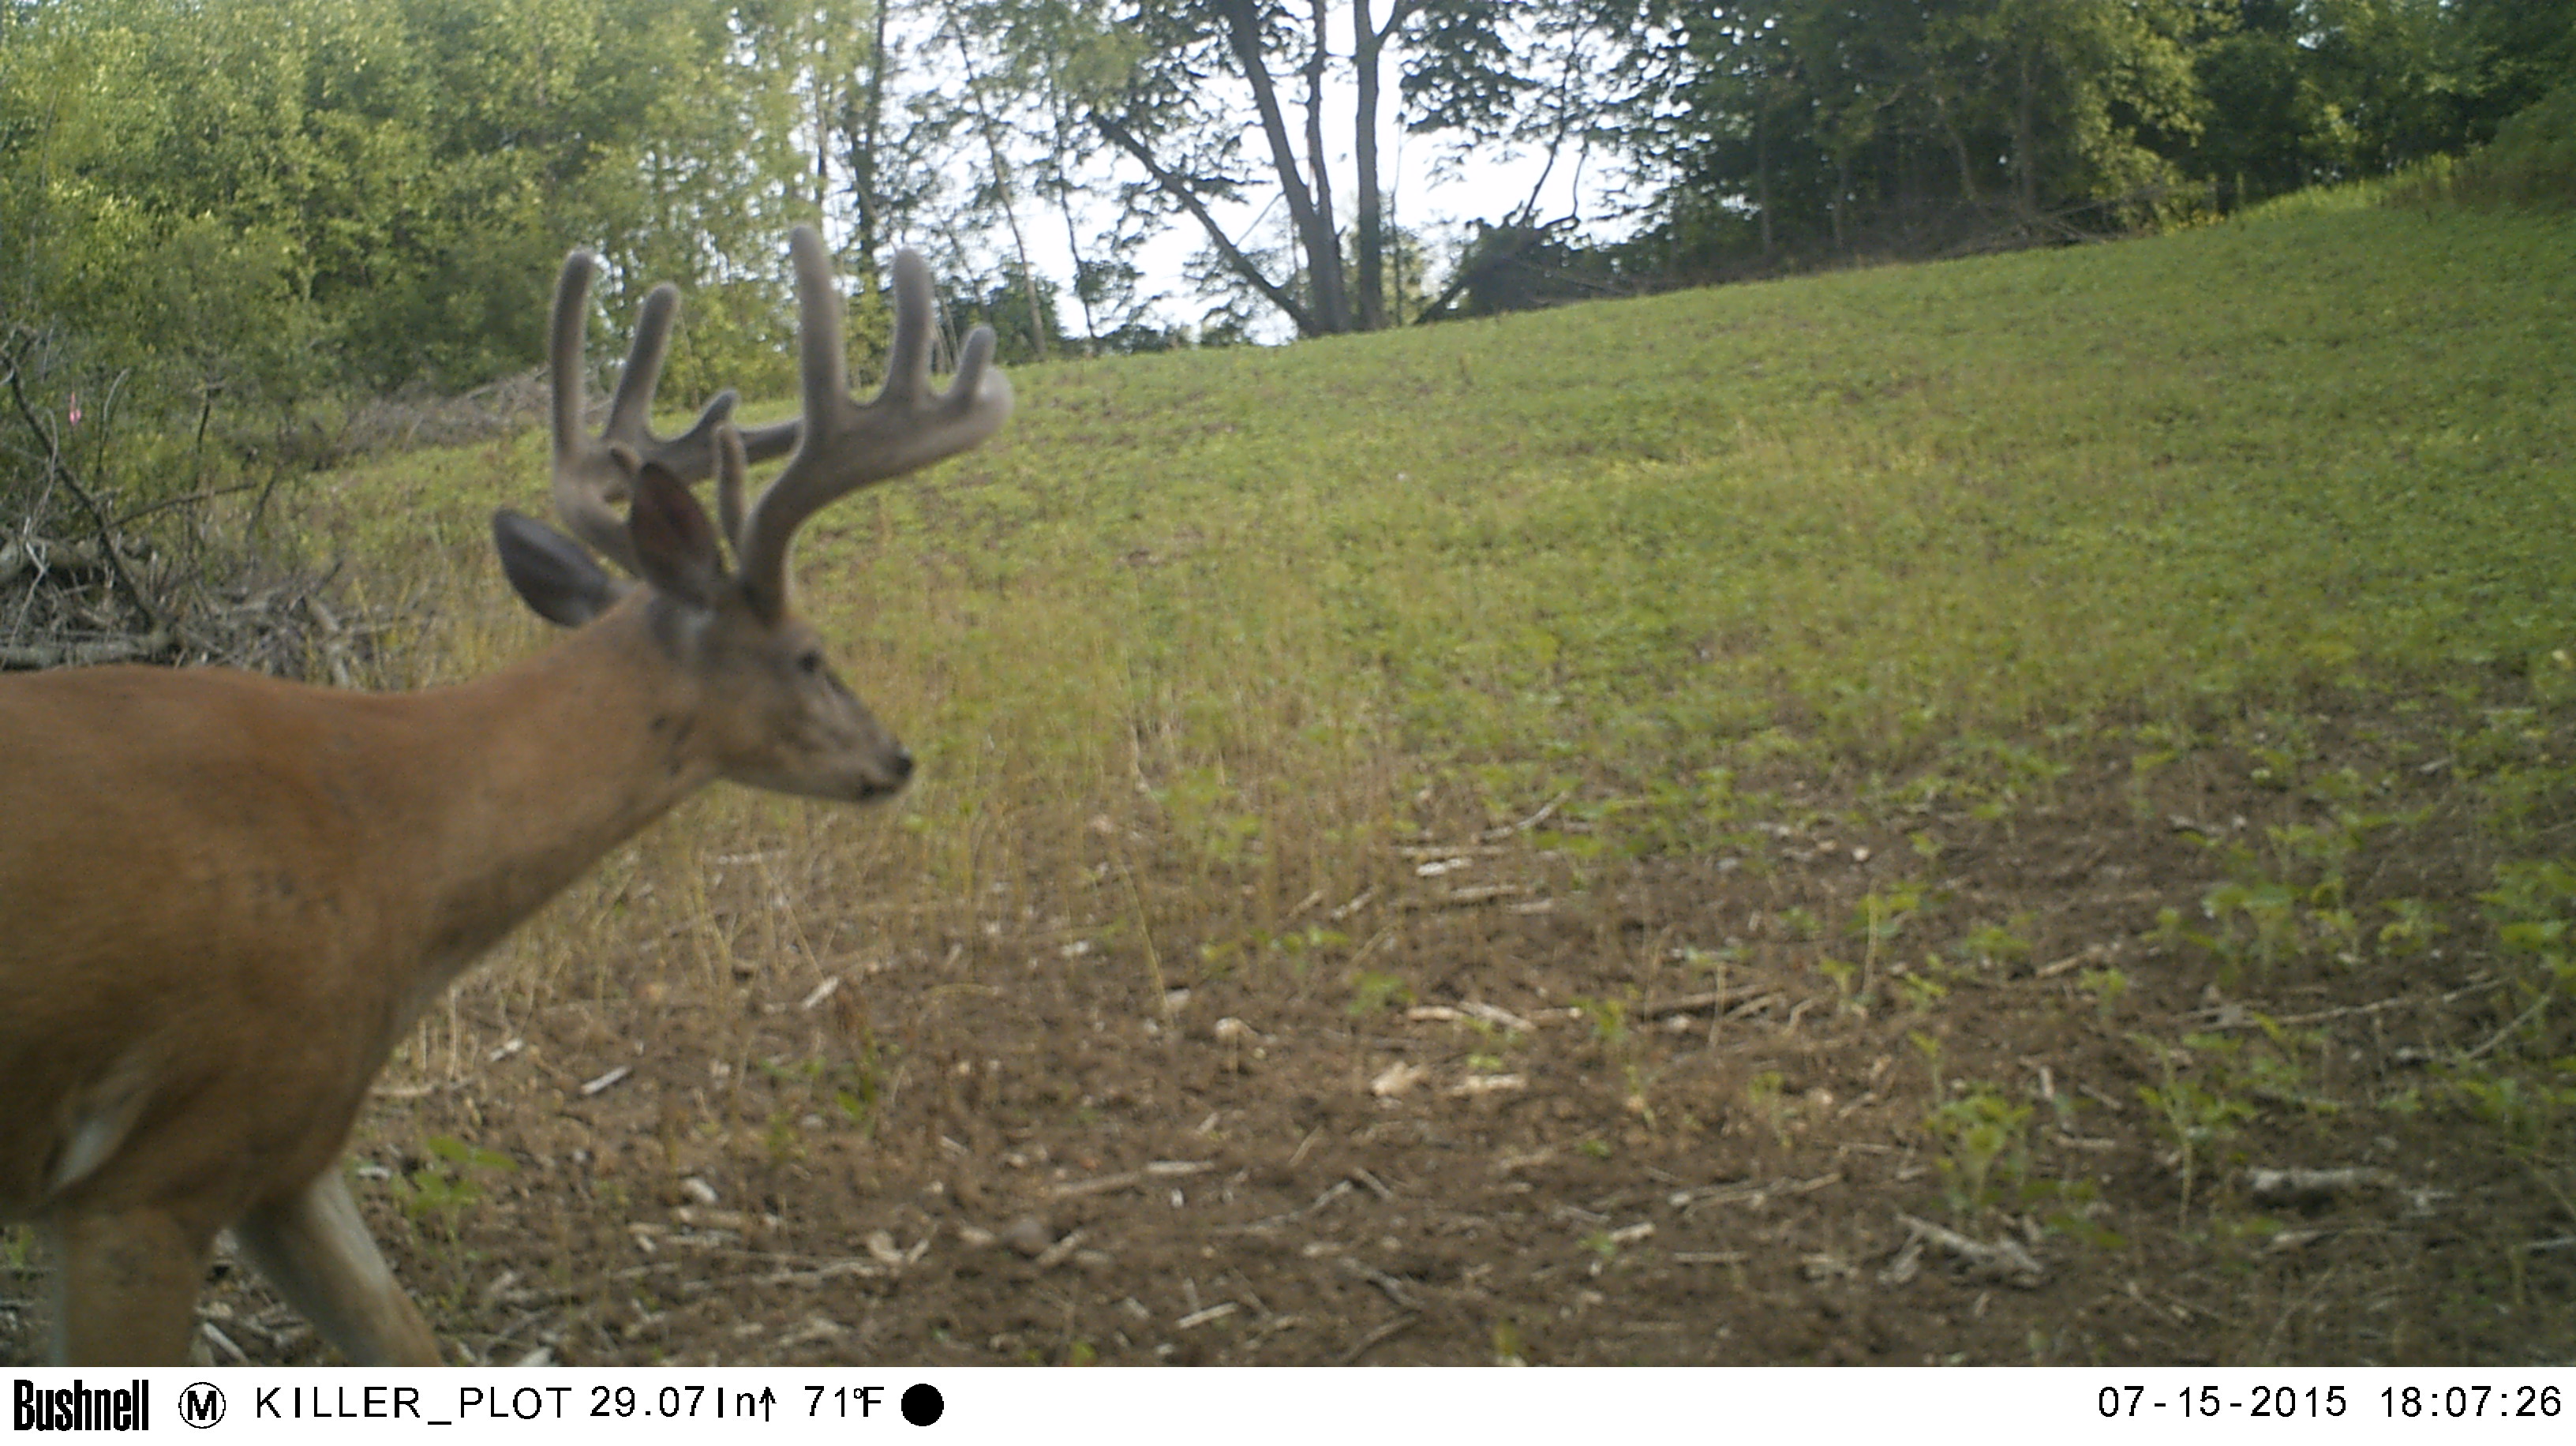
Phase 3: Trail Camera Season (July-September)
Once you've identified key areas through e-scouting and ground-truthing, it's time to deploy trail cameras. This is where you transition from general scouting to targeted intelligence gathering.
Camera Strategy
- July-August: Hang cameras on field edges, water sources, and mineral licks (where legal). Summer bachelor groups of bucks will hit these locations regularly, giving you inventory of the bucks in the area.
- September: Transition cameras to staging areas—the thick cover 50-100 yards inside timber from food sources where bucks wait before entering fields at dusk. This is where you start fine-tuning stand locations.
- Cellular cameras: If possible, use cellular cameras to eliminate the need to check cameras in person. Every visit deposits human scent and increases the chance of altering deer patterns.
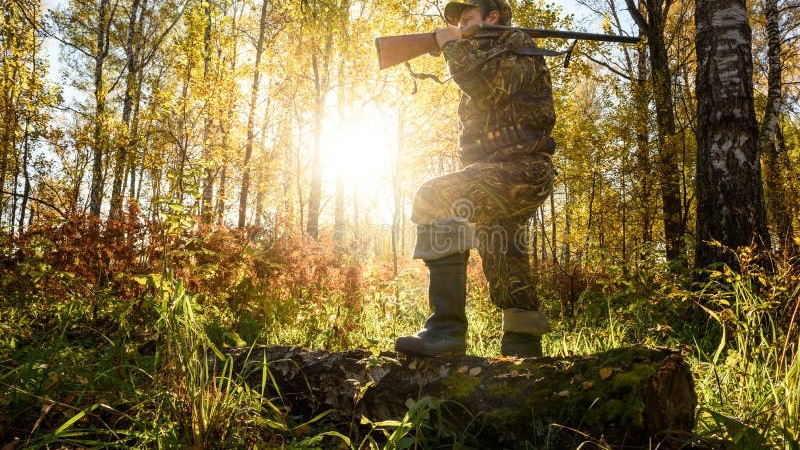
Phase 4: Stand Placement (September-October)
All your scouting culminates in stand placement decisions. The data you've gathered should answer where, when, and how to hang your stands.
Key Stand Placement Principles
- Play the wind: Always set stands where the prevailing wind blows your scent away from expected deer approach routes. Having multiple stand options for different wind directions is ideal.
- Access routes matter: A perfectly placed stand is worthless if your access route alerts deer. Plan walking routes that use terrain, creeks, and field edges to approach without crossing travel corridors.
- Don't over-hunt a spot: Even the best stand location becomes less productive if hunted repeatedly. Rotate between 3-4 stands to minimize pressure on any single area.
- Hang early: Get stands hung at least 2-3 weeks before you plan to hunt them. This gives deer time to accept the new object in their environment.
Scouting for Public Land
Public land scouting requires a different mindset because you're sharing space with other hunters:
- Scout deeper: Most public land hunters don't go more than 500 yards from a road or parking area. Push past that comfort zone. Deer on public land have been pushed deeper by years of pressure.
- Focus on terrain over sign: On pressured public land, terrain features that funnel movement are more reliable than sign, which can change quickly when other hunters move through.
- Use weekday scouting: Visit public land on weekdays when other hunters aren't present. You'll get a more accurate picture of deer behavior without hunting pressure influence.
- Have multiple plans: Other hunters will be in "your" spot. Always have backup locations scouted and ready.
Monthly Scouting Calendar
Year-Round Scouting Timeline
- March-April: Post-season walk-throughs. Find sheds, old rubs, scrapes. E-scout new properties.
- May-June: Boots-on-ground scouting. Walk trails, map terrain features, identify food sources.
- July: Deploy trail cameras on food sources and water. Begin building buck inventory.
- August: Review camera data. Shift cameras to transition areas. Finalize stand locations.
- September: Hang stands. Final camera checks. Confirm food source status (what oaks are dropping?).
- October: In-season scouting through observation. Adjust based on actual deer behavior.
Final Thoughts
The best scouters balance thoroughness with minimal impact. You want to learn as much as possible about deer behavior on your hunting property while leaving the smallest possible footprint. Every time you enter the woods, you risk altering the behavior you're trying to study.
Scout smart: use technology when possible (e-scouting, cellular cameras), time your on-the-ground visits when deer are least impacted (midday, summer), and resist the temptation to scout bedding areas closely. The knowledge you gain through disciplined pre-season scouting is the single biggest advantage you can give yourself as a deer hunter.
Advanced Scouting Techniques
Reading Rub Lines
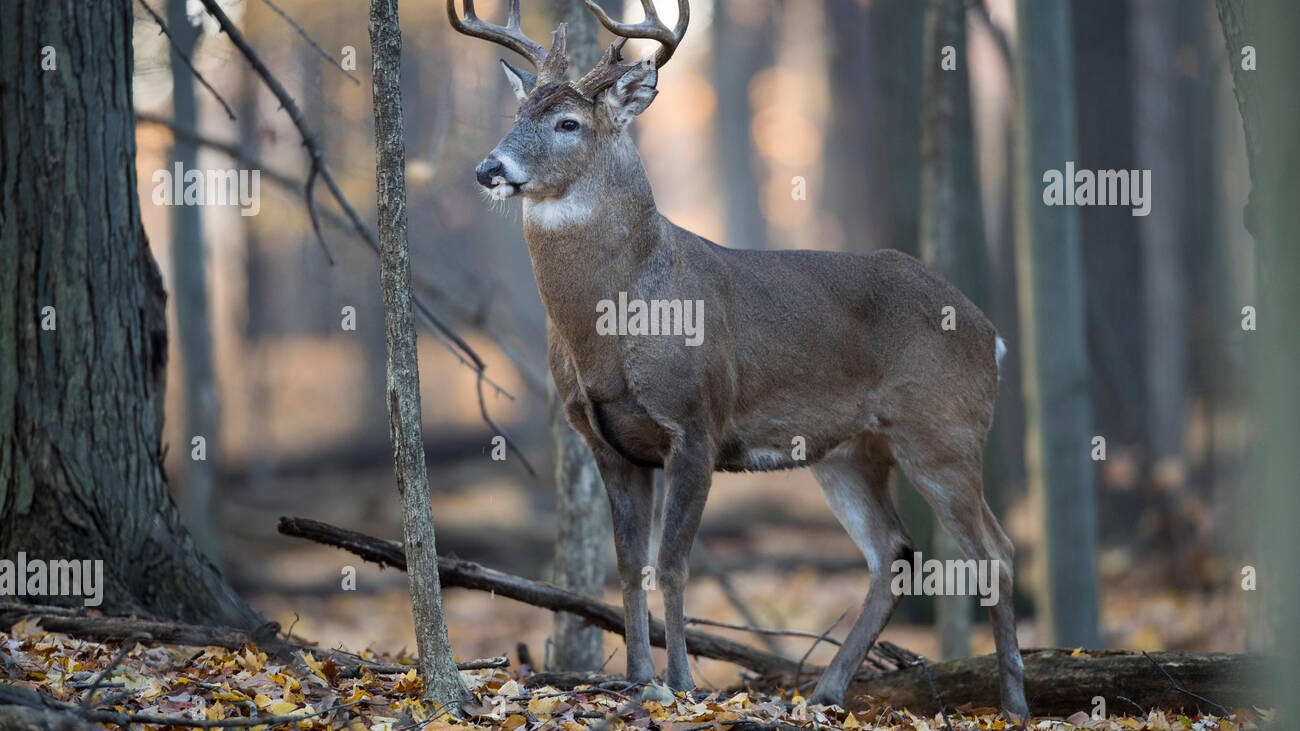
Individual rubs tell you a buck was here. Rub lines — a series of rubs along a travel route — tell you where he's going and which direction he travels. Rubs are typically made on the side of the tree facing the buck's direction of travel. A line of rubs along a ridge with rub marks facing south tells you the buck travels this ridge heading south, likely in the evening moving from bedding to food.
The size of rubbed trees indicates the size of the buck. While small bucks occasionally rub large trees, consistently large rubs (6+ inch diameter trees) along a travel route reliably indicate a mature buck. Trees rubbed across multiple years (visible old and new rub scars) reveal corridors used consistently by mature deer — these are your highest-priority stand locations.
Scrape Analysis
Scrapes — pawed-out patches of ground beneath a licking branch — provide some of the most actionable scouting data. Community scrapes visited by multiple bucks are typically large (2-3 feet across) and located at trail intersections or staging areas near food sources. These scrapes light up during pre-rut and are ideal trail camera locations.
The licking branch above the scrape is actually more important than the ground scrape itself. Bucks check licking branches year-round, depositing scent from forehead glands and preorbital glands. A licking branch with heavy use (bark rubbed off, broken tips) indicates a high-traffic communication hub regardless of whether the ground scrape is actively refreshed.
Bedding Area Analysis
Understanding where deer bed gives you the critical piece of the movement puzzle. But scouting bedding areas requires extreme caution — push a mature buck from his bed once and he may relocate to a new bedding area for weeks or permanently.
The safest approach: scout bedding areas in late winter (February-March) when deer have abandoned fall/winter beds and are using different areas. Look for oval depressions in leaves or grass, grouped together in areas with these characteristics:
- Thermal advantage: South-facing slopes that receive warming winter sun, sheltered from prevailing north winds.
- Visual advantage: Slight elevations, ridge points, or benches where deer can see below while wind brings scent from behind.
- Escape routes: Multiple exit paths through thick cover. Mature bucks rarely bed in areas with only one escape option.
- Cover density: Thick enough to provide visual screening from all directions at ground level. Regenerating clear-cuts, brushy creek bottoms, and cedar thickets are classic bedding cover.
Creating a Scouting Calendar
Effective scouting isn't random — it follows a calendar that maximizes information gathered while minimizing disturbance:
January-March: Post-Season Scouting
The best scouting window of the year. Deer have largely abandoned fall patterns, leaves are off the trees providing maximum visibility, and last season's sign (rubs, scrapes, trails) is still readable. Walk extensively through your property, mapping sign locations on your phone GPS. This is when you can safely explore bedding areas that are off-limits during season.
April-June: E-Scouting and Mapping
Study your post-season findings using digital mapping tools. Connect the dots between bedding areas, food sources, and travel corridors. Identify stand locations that intercept these connections. Use satellite imagery to examine terrain features you might have missed on the ground.
July-August: Camera Deployment
Deploy trail cameras at water sources, mineral sites, and food source edges. Summer cameras inventory the bucks on your property and track antler growth. This is low-impact scouting — deer are in summer patterns and tolerate more human intrusion than during fall.
September: Final Adjustments
Check cameras one final time and transition them to fall locations — scrapes, trail intersections, and food source transitions. Make final stand adjustments. After September, minimize human intrusion to let the hunting area settle before season opens.
Scouting Mistakes That Cost You Deer
Over-Scouting During Season
The most common mistake. Every in-season scouting trip introduces scent, noise, and visual disturbance that educates deer. Use trail cameras (especially cellular models) to scout remotely during season. If you must visit the property, limit trips to midday when deer are bedded, and never walk through core hunting areas.
Ignoring Wind During Scouting
Your scent during scouting trips lingers for hours. If you scout a stand location on a south wind, deer approaching from the south will encounter your ground scent and alter their behavior. Scout with the same wind awareness you'd bring to a hunt — approach from downwind and minimize time spent in critical areas.
Focusing Only on Buck Sign
Does drive the ecosystem. Where does feed, bucks follow — especially during the rut. Scout doe feeding patterns, bedding areas, and travel routes with the same intensity you apply to buck sign. A thorough understanding of doe activity tells you where bucks will be during the breeding season.
Pre-season scouting transforms deer hunting from a guessing game into an informed strategy. The hunters who consistently kill mature deer are the ones who invest hundreds of hours in off-season preparation. When opening day arrives, they already know where the deer travel, when they move, and which wind direction puts a hunter in the right position. That knowledge isn't luck — it's the product of disciplined, systematic scouting throughout the year.
Recommended Scouting Gear
Check Price on Amazon →
Check Price on Amazon →
Check Price on Amazon →
Get More Gear Guides
Join 10,000+ hunters and get our free Ultimate Gear Checklist plus weekly reviews delivered to your inbox.
Share this guide:
Related Articles
Summer Deer Scouting 2026: Trail Camera Strategies for Fall Success
Complete summer deer scouting guide with trail camera placement strategies, mineral sites, food plot planning, and inventory techniques to prepare for fall hunting season.
How to Hunt Pressured Deer: Advanced Whitetail Tactics
Pressured whitetails play by different rules. Learn advanced tactics for hunting mature bucks that have survived multiple seasons of hunting pressure, from scent control to unconventional stand placement.
How to Hunt Public Land Deer: Tactics That Actually Work
Public land deer hunting demands different tactics than private property. Learn proven strategies for scouting, stand placement, and outsmarting pressured whitetails on state and federal land.